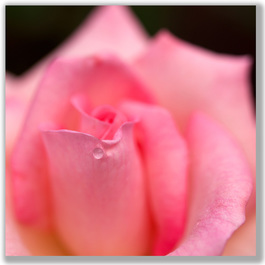
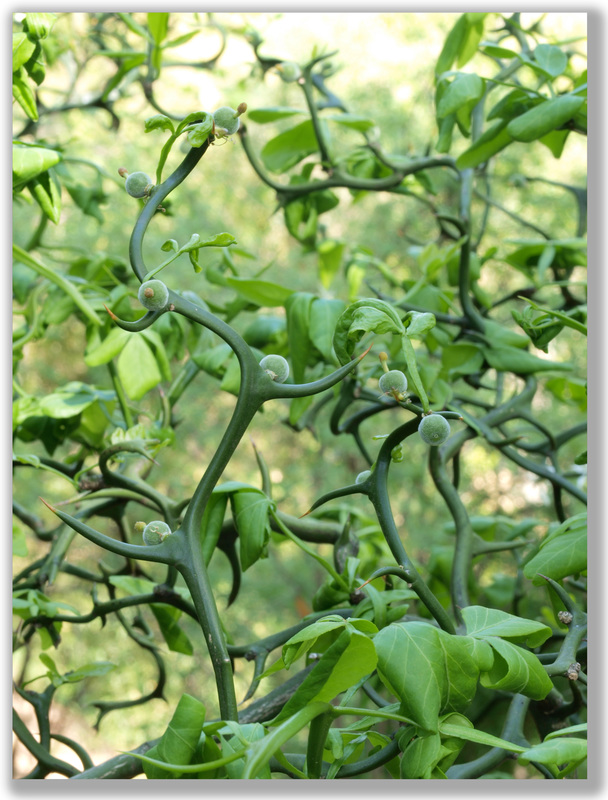
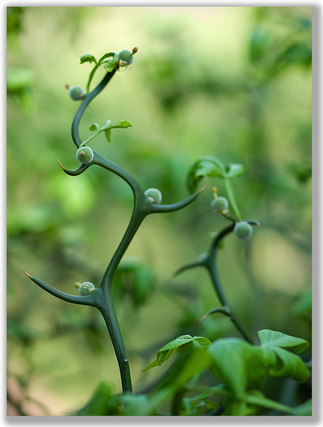
 Single Tear Single Tear Chris Fedderson — MacroFine Musings [This post is an elaboration on the first point I made in my post of November 10, 2015, Five ways to raise your photo IQ (Interest Quotient)] ~~~~~~~~~~~~~~~~~~~~~~~~~~~~~~~~~~~~~~ But focus you must! OK, so you have a visualization, including the hook. Your subject is pristine — no one wants a technically perfect picture of a raggedy butterfly. You have the lighting and composition perfect. Your color is balanced — chromatically and ‘geographically’ within the image. So shoot the image already, right? NO! You need to focus. Well, duh. But, it is more complicated than just that. You can’t just set your aperture at f/22 and use auto-focus and hope everything works out. More likely than not you don't want everything in focus. You might want just your hook in focus and the rest to be only ‘suggestions’ of imagery or background or backstory or supporting elements. In image #1 below, I saw a single twig that I wanted to feature. Clearly, at f/22, too much is in focus to allow the one twig to be accentuated; it gets lost in the jumble. However, as shown in #2, an aperture of f/2.0 blurs out all the extraneous distractions so we can now clearly see what The Point Is. You achieve this selected focus by employing your aperture control to regulate your depth of field. I’m not going to ‘go all techy on this’, but suffice to know:
Experiment. Using a tripod, beanbag, or some other means to be hands-free with your camera and with your smallest f/number (maybe f/2.0), manual focus on an object at a short distance away. Snap the shot. You might have (just pulling examples out of my hat) things between 4.0 to 4.5 feet away in focus and everything else, closer and farther away, in graduated out-of-focus-ness. Now don’t touch anything! Change only your f/number to your largest (maybe f/22). Snap the shot. Now you might have everything from 2 feet to 20 feet in focus and things closer than 2 feet and farther than 20 feet in graduated out-of-focus-ness. Now — again, without changing anything but the aperture — do all the (major) f/stops, i.e., 2.0, 2.8, 4.0, 5.6, 8.0, 11, 16, 22 and see the depth of field gradually change. Now do it again focusing at maybe 15 feet away. Now memorize all these results. Memorize all these results?! Are you crazy?! No! Yes! No! I mean, don’t memorize them, just pay attention to the general results. With time, attention, and hundreds of experimental shots, you’ll start to get a ‘feeling’ for which settings are close to what will give your hook the attention it deserves. Then you just shoot a variety of shots so —maybe— one will be your intended image. In doing this, you will continue to hone and refine your skill, and ultimately you’ll need to shoot fewer ‘maybes’. So you did all this and your hook is still not focused correctly. There are a several reasons this might be happening.
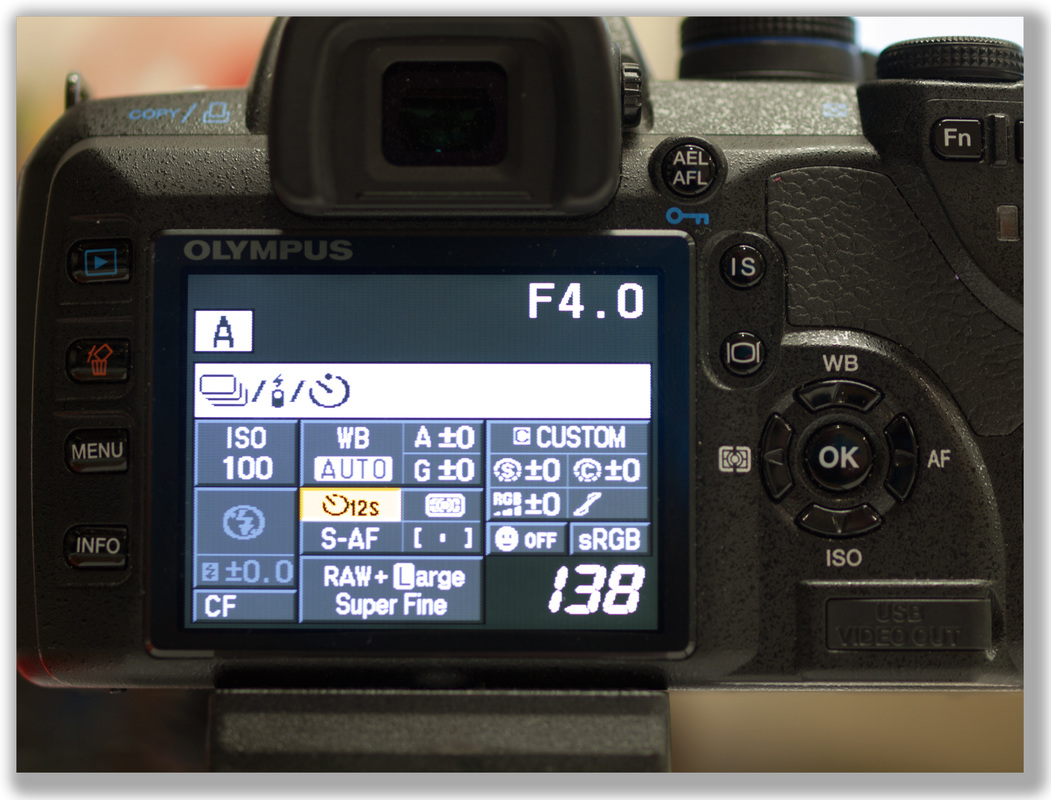
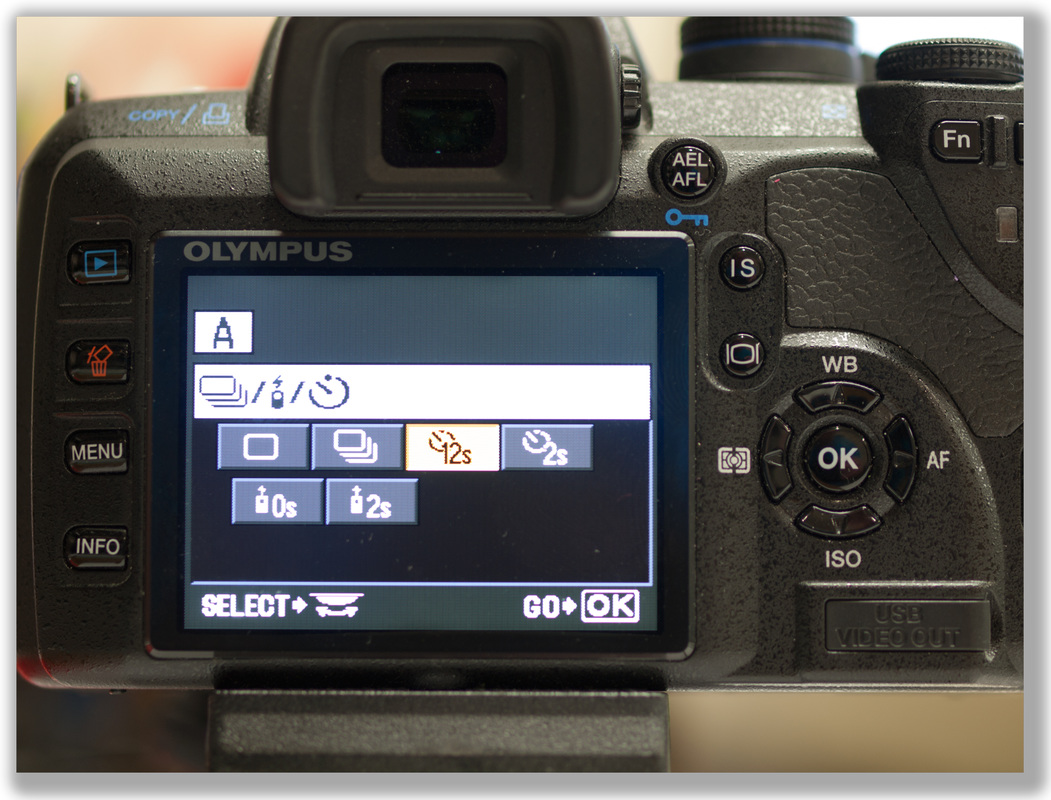
I can’t help you with motion blur, except to say possibly a faster shutter will solve the problem — but then you change up your aperture and hence the depth of field and maybe there goes your hook and you get all distraught and you never come out of the house again and you quit using personal hygiene and all your friends and spouse abandon you… Whoa, hold on there, Chief, it’s not that bad. Just move on to your next hook. There are literally (and I do mean literally!) infinity times infinity hooks out there. Go get one! Now, camera shake I can do something about! Phfwew! See, that wasn’t so bad. The solution? Stop hand-holding your camera. Simple as that. Get a tripod. Don’t have, or unable to get, a tripod? Try using a beanbag and set your camera on top of a rock or fence post or your car hood or the ground or any other thing in the universe that is not moving. Don’t have a bean bag? Make one out of one of your socks and small pebbles. OK, that was dumb. But make one out of an old sock and some dried beans. Or use your camera bag or purse to prop your camera on — be sure it is secure and won’t tilt off and fall. Bummer. Add in the use of your in-camera shutter release timer or a cable shutter release and you are all set to be jiggle-free. The issue with auto focus is the easiest to remedy… just use manual focus. I will use auto focus to find my point and to get a rough… let me repeat… rough focus, and then I’ll manually tune it in from there. Even if auto focus seems to have worked perfectly, it will refocus again with each shutter release and there-in lies great potential for miss-focusing.
Remember that you are not focusing on a thing but rather you are focusing on a distance from your camera. Any subject that comes into, or goes out of, that distance will come into, or go out of, focus. And, any thing that changes the relationship of your hook to that distance will alter the ‘total-focal-effect’* (I just made that up!) within your image. You may still have razor sharp focus — just on the wrong element in your image — or you may have generalized blur from movement of the subject or the camera. Sometimes whatever went wrong can be corrected, sometimes not. Experiment to learn what you can control, and when you cannot, move on to your next stunning image. Thank You for visiting, — Chris P.s. * Total-focal-effect: all the aesthetics, impressions, feelings, emotions, points-of-attention, appreciation, etc., derived, en masse, from the collective effects of in-focus and out-of-focus areas and elements within an image. So what do you think? Is this focus-thing clear to you? Do you have a sharp understanding of it? Or is it still a little blurry? Do you want more depth? Or would you rather stay soft on the matter? If I’ve not been well-defined on something please do send a comment and I’ll see if I can bring it into focus!
0 Comments
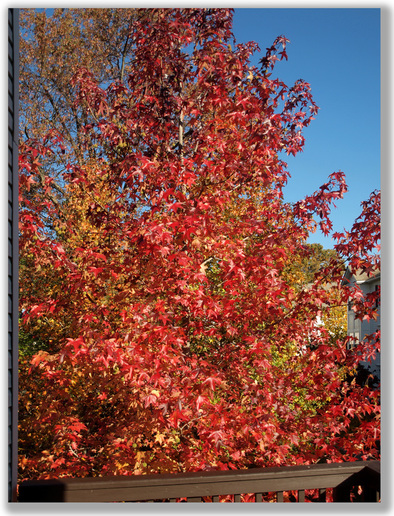 The View From Our Kitchen The View From Our Kitchen Chris Fedderson — MacroFine Musings Kathy Lawler, Guest Blogger ~~~~~~~~~~~~~~~~~~~~~~~~~~~~~ Color is the new Black. Fall is my favorite time of year. It is a veritable Riot of Color in our neighborhood this month. What is so amazing is not only the color changing but how this change varies from year to year. We live in a three story townhouse with tall maple trees out back. This year the tree closest to our house has been the first to turn to reds — and even deep purples — with the trees behind still green in places and others going yellow. This view is from our kitchen, dining, and nook area on the mid level of the townhouse so we are essentially “in the trees” on this level. The walls in these rooms are a neutral, slightly off-white color and depending on the time of day and lighting outside, the walls take on a color cast from the trees, leaving a warm, enjoyable glow in the room. Fall has come inside this year. 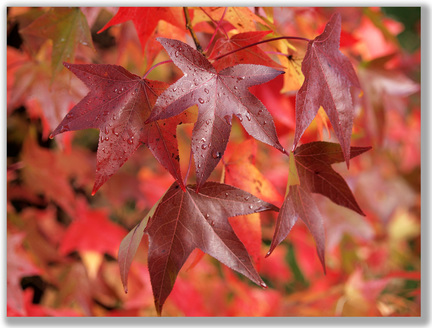 Autumn Yummyness Autumn Yummyness Not to be outdone though, our front yard is in the color riot too. Our burning bushes are a beautiful shade of dark fuchsia and our annuals haven’t yet given up for the season. There are still variegated coleus, scarlet sage, and pink azaleas actually blooming. At our house, we are surrounded by beautiful color, inside and out. The importance and influence of color in our lives can’t be overstated. Color can make us calmer or raise our blood pressure, make us happy or sad, and affect our productivity. Color is often used in expressions that describe our moods or feelings or emotions:
We put on navy power suits, stop at red lights, have green thumbs, talk a blue streak, and may have a heart of gold. We all have, well most of us have, a favorite color that we like either to wear or to surround ourselves with — it makes us feel good. Our choices are varied and may be tied to past associations or just a general feeling of well being. In upcoming posts we will look at color in our environment and art work. We will explore how to set a mood or create a warm or cool feeling and we will have posts with more technical information involving color theory. As artists, of course color is important to our work and in our house we try to surround ourselves with all our favorites. Our Artwork, both Chris’ photography and my paintings, are very colorful and the way we use color is one of our most commented on elements. The funny thing is: the irony that so many artists dress in shades of black, myself included, even though color is of the utmost importance to us and our work. Thank You for visiting, — Kathy Lawler, guest blogger P.s. What are your favorite color combinations? How do these affect you? How have you used color, either in your artwork or in your home, in an outside-of-the-box sort of way? We’re looking forward to reading your Color Tales in the comments. 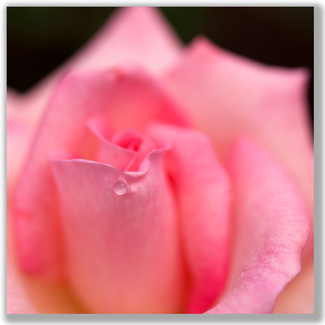 Single Tear Single Tear Chris Fedderson — MacroFine Musings ~~~~~~~~~~~~~~~~~~~~~~~~~~~~~ Twelve significant photographs in any one year is a good crop. — Ansel Adams Twelve?! One a Month?! Heck, I can take 500 in one day! What’s wrong with that guy?! Not a dang thing. Mr. Adams just knew how to look critically and unemotionally at his work so he could cull his collected production down to just his very best “keepers”. Have you ever seen one of his images and said, “eh…”? Neither have I. Why should we care about culling and deleting any of our shots, anyway? Each one has some value and we might want to use it… sometime… right? Yes. But… does its value warrant storing it? Does it illustrate a lesson, or technique, or photographic result which we will need to refer to again? Is it the only remaining photo of Aunt Millie, dearly departed? Well then, by all means keep these — but cull the rest. What you are achieving by doing this culling is avoiding amassing tens of terabytes of “also-rans” among which you will then lose your keepers, never to be able to find them again. I have no idea what criteria Mr. Adams used, nor do I know what criteria you might use in assessing your shots. But I will share with you my five points and you may adopt them, alter them to make them fit your needs, or simply continue to amass those terabytes. . . 1. BEST FOCUS Mr. Adams also said, “There is nothing worse than a sharp image of a fuzzy concept.” The corollary is also true: “There is nothing worse than a fuzzy image of a sharp concept”. I don’t mean necessarily edge-to-edge or foreground-to-background all in focus, but is the essential focal point crisp? This may be only a single drop of water, but if that drop tells your whole story it MUST be in focus; and the image may well benefit from the rest being somewhat out of focus. This focus thing is the deal breaker. Without it, the shot is junk. 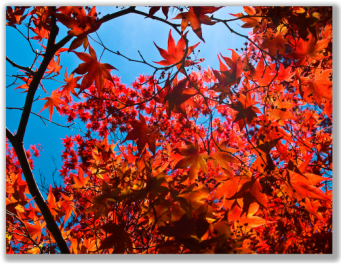 Autumn Effect Autumn Effect 2. COMPOSITION Did I chop off the top of Aunt Millie’s bouffant? Is Uncle Marvin’s left shoulder left out? Did I dead-center the butterfly? Or possibly worse, is it flying OUT of the frame? Do I have elements to direct the viewer’s eye? Composition will set the mood and give an indication of the story within your image. Be sure it says what you intend it to. 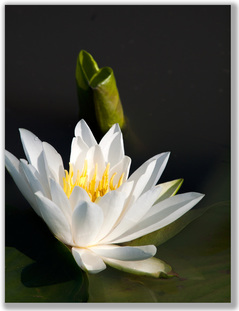 Lily Grace Lily Grace 3. LIGHTING Is that beautiful flower — the whole point to the image — lost in a wash of cluttered background? Is your single drop of water in a deep shadow while the rest of the flower is brightly lit? Does your snow look really blue, or worse, really yellow? Is everything behind Aunt Millie so bright it washes out into a blurred glow, leaving her in the dark? Or is the sun so bright in her eyes that she looks like one of those squinted-up apple dolls? 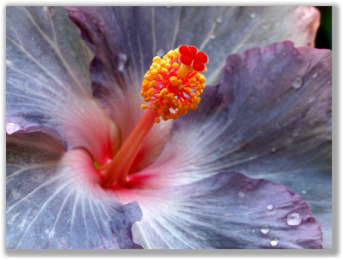 Steel Hibiscus Steel Hibiscus 4. COLOR I shoot color, but this rule applies just as well to B+W. What I’m looking for here is more than just the presence of color. I want great color contrast, color juxtaposition, color coordination, color framing elements within the image, color balance, color depth — or softness … 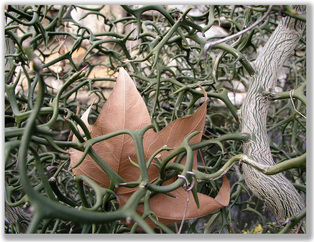 Life in the City Life in the City 5. UNUSUAL ELEMENTS or MESSAGE . . . YOUR HOOK For me, the most important criteria is: what is the reason for this image? Does it carry a special or unusual meaning or message? Is it particularly poignant? It may be technically perfect. Stunningly focused and composed. But if it’s a snapshot of nothing… cull it! After all, you don’t want to “eh…” people, you want to “WOW!” people. I hate culling. It’s like deciding which of your kids you like best. And then telling them. But, unlike with kids, it must be done, if for no other reason than it forces you to detach, and to look critically at your work and techniques to assess the good, the bad, and the truly ugly. Do it — you’ll learn a lot! Have Fun!
Thank You for visiting, — Chris P.s. In future posts, I will be elaborating on each of these criteria. In the meantime, create some of your own, comment on mine, and we’ll compare notes. Chris Fedderson — MacroFine Musings ~~~~~~~~~~~~~~~~~~~~~~~~~~~~~~~~~~~~~~~~~~~~~~~~~~~~~~~~~~~~~~~~~~~~~~~~~~~~~~~~~~~ Art fairs really do get people thinking. Here you are, visiting an Art Fair, chances are you think you’re not particularly artsy-fartsy yourself (but you probably are, in some way or another — but that’s another post for another time), and you’re looking at things you’ve never seen before, let alone that you would conceive you could make. Soon you start asking, “how’d you do that?”, “where do you get your ideas?”, “what’s this made of?”, “what kind of tool did you use for that effect?”, and on and on. And so it is in my booth, too. Artists generally do enjoy talking about their work — it’s another way to share, after all. I know I enjoy it, especially when I get to talk with a young Artist-In-Training. I visualize them on a meandering path through the Career Fair, gaping at all the possibilities. Much like this Ladybug on its Pilgrimage. 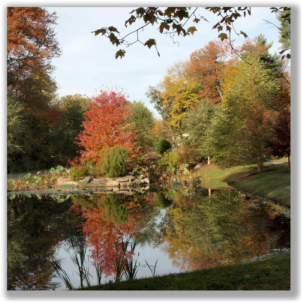 Green Spring Gardens, Virginia Green Spring Gardens, Virginia What I find interesting is that of all the questions I get asked, three rise to the top to be the three most frequently asked, and this holds true whether I’m talking with a student photographer or someone who has been shooting for years and possibly has their own photography business… 1. Where do you take your images? I take most of my images at botanic gardens, arboretums, and parks. Since I’m shooting close-ups of flowers, bugs, small animals, natural textures and patterns, and the like, I find an abundance of subject matter in these places. But the point here is you need to go to where your subjects are. Yes, this goes without saying. But what if you don’t know what your subject is to be? Meaning… what if you haven’t decided on what type of photography (or any art, for that matter) you want to concentrate on? Then you’re in a good position to justify doing all kinds of things and trying all kinds of variations and even changing up entirely and doing something completely different until you find your calling! Throughout all of my photo’ing life I have always gravitated toward shooting the small, seemingly unspectacular elements in nature; hence my work in close-up and macro photography. But I have also tried shooting street candids, ‘portraiture’ at family gatherings, architecture, and many other types of spontaneous snaps. But none of those artistic styles struck a chord with me. So I ‘found’ myself — and find myself — in botanic gardens, or my own backyard, where my mind’s eye goes wild! 2. What type of camera do you use? Ansel Adams said. “The single most important component of a camera is the twelve inches behind it.” I have to agree. My complete equipment list includes: an Olympus E-30 DSLR, a 50mm macro lens, a 50-200mm telephoto zoom, and occasionally a polarizing filter or a reflector or diffuser. That’s it. But this equipment is all driven by the same computer — my brain, as it is directed by my Mind’s Eye. You see, it is not the equipment that makes the photographer; it is the photographer’s vision and visualizations. I would take the same images I am now even if I had $1,000,000 worth of hardware. No better. No worse. I think the secret answer to the equipment dilemma is this: ** Learn your existing camera and lens(es) — go through the user's manual over and over to learn all the tools, bells, and whistles and what they can do for you. ** Figure out what they can do and what they can’t — don’t expect it to be a 500mm telephoto and a 10x macro simultaneously… unless it is! ** Determine whether they are capable of producing the images that you’re visualizing — assess how well, or even whether, your equipment is suited to your photographic vision. If you don’t yet have a camera and lens suited to your goals, but have researched and know generally what parameters this new equipment needs to satisfy, then employ what I just decided to call the Minimum/Maximum Rule. Buy only the minimum amount of equipment that you'll need. Now go Maximum… figure out what the absolute maximum is that you can afford to spend, and boost that by a ‘little bit’ more. This will get you the best quality possible of the essential tools you need, without your ending up with a lot of pieces of questionable-quality equipment you really didn’t have any need for in the first place. 3. How do you get your colors to be so vivid? Lastly… my colors. What I answer here can apply equally to Black and White images because it is less about the actual color than it is about, oh, everything else. It begins in the ol’ Mind’s Eye. After I’ve found a great hook containing a stunningly poignant visual and a heart-wrenching emotion, I look for more than just the presence of color. I want great color contrast, color juxtaposition, color coordination, color depth — or softness, color framing elements within the image, color balance… (or all these same things in B+W). Then it’s to the darkroom. By that I mean I’ve got my computer and printer set up in a dark… room. ;-) About 12-15 years of Photoshop experience now comes into play to do adjustments to the images such that the printer will print them to appear as close to real life as is possible. I use an Epson 3880 wide format professional printer using a system of nine, highly-pigmented inks together with art papers and print resolutions as high as 2880 dpi. Finish it all with black mats to make the images “pop” in your mind’s eye. That’s ‘all’ there is to it. Easy Peasy. When you find yourself a few years shy on your Photoshop experience or a couple inks short in your printer… do not despair. There are a billion contract printers available who would love to help you realize your vision. I have always done my own printing so I regret that I don’t have any direct referrals, but I can suggest some selection parameters:
Now get out there and let’s get shooting! Thank You for visiting, — Chris P.s. What is your top question? Or your biggest dilemma? Do you print your images or do you have them printed at a print shop? How is that working? Have you found any pitfalls that others should avoid? Please leave your thoughts in the comments and we can start a conversation. Thank You. |
Categories
All
About Chris
I am a Virginia-based photographer and gather my images while hiking in parks and natural areas here at home and in the locations I travel to. I also love to visit arboretums and botanic gardens to find unusual and exotic subjects. Archives
March 2017
|

 RSS Feed
